Let me put it this way: I often work with files whose authenticity is not always guaranteed. If you interpret this as downloaded cracked macOS apps, then that’s on you! Regardless of what files they are, if possible, you want to check their md5 or sha1 hash. It’s an easy way to verify that the file you’ve downloaded is what it’s supposed to be.
Table of Contents
Why verify hashes?
By comparing a string of either hashing algorithm and checking if they match, you can make sure that your cracke- ehh totally free and open-source software is safe. To make this whole thing as easy as possible, macOS allows us to create a Quick Action for this that you can access with a secondary (right) click. Here’s how.
For this example, I’ve downloaded the first nice-looking image I saw on Unsplash:

Important: This image, as seen here, is a compressed version, which means the md5 and sha1 hashes are different. To get the exact same file that we’ll be using for our Quick Action, download this one:
The hash values for both are the following:
md5 Hash
fc460de087ac40b566ed0f3f8644ce2fsha1 Hash
ef299b5e36d38864b543100ba39b05ef58a3b0c2Once you’ve downloaded this .jpg image, move it somewhere we can easily access it, for example, the desktop.
Add new Quick Action
To extend our right-click Quick Actions menu, we need to use the native macOS app Automator. This app can create a couple of really useful things, but it does have its limits, which you’ll soon see.
Open Automator, click “New Document,” and select “Quick Action,” which has a cogwheel as its symbol. Once we’re in our new script, it’s always a good idea to start by using a test case. In this case, it means not the original file that you just downloaded but any file. First, we want to see if we can add a Quick Action to the list.
Open the “Library,” which will show you many actions on the app’s left side. Double-click on “Get Specified Finder Items.” A little table will appear, which you’ll use to click “Add…” and then select any file you want. Don’t worry; nothing’s going to happen to it.
Another important thing to ensure is that above the action you’ve just added from the library, the top must accept “Files or Folders” from “Any Application.” This tells our workflow that it should be visible for this kind of file. Last, do the same with the action “Display Notification.” This will just be a verification for us, so we know we’re on the right track.
Press CMD + R, and you should see a notification on the top right corner of your screen.
Testing the Test Action
Time to save our little action. Press CMD + S and then—and this is important—save the .workflow file in the folder ~/Library/Services. This will be done automatically the first time after you’ve given it a name.
Close your Finder window, open it again, navigate to some random file, and right-click it. Then, select “Quick Actions” and click the newly created action. Does the notification pop up again? Perfect! Now we know we’re working on the right file and can create our actual code.
Adding the Code
This is the step where I must disappoint you. I can’t go through the entire code and explain everything, but I did my best to comment on the lines that play the biggest role.
But first, let’s remove the notification action and instead add “Run AppleScript.” Now it gets easy, almost too easy to call this article a “Guide.” Delete everything you see in the white box and simply copy and paste the following in there:
on run {input, parameters}
	-- Check if input is empty. If there is no file selected, show a warning dialog and exit.
	if input is {} then
		display dialog "No file selected!" with icon caution -- Show a caution icon in the dialog
		return -- Exit the script early if no file is selected
	end if

	-- Retrieve the file path from the input. The input is a list, so we extract the first item
	-- and convert it to a POSIX path format for compatibility with the shell command.
	set filePath to POSIX path of (item 1 of input)

	-- Define the list of valid hash types (MD5 and SHA1).
	set hashTypeList to {"md5", "sha1"}

	-- Show a dialog to ask the user to select the hash type (either MD5 or SHA1).
	set hashType to choose from list hashTypeList with prompt "Please select the hash type to verify:" default items {"md5"} without multiple selections allowed

	-- Check if the user canceled the dropdown menu (hashType will be false if canceled).
	if hashType is false then
		display dialog "No hash type selected, exiting." buttons {"OK"} default button "OK" with title "Error" -- Show an error dialog
		return input -- Exit the script if no hash type was selected
	end if

	-- Show a dialog where the user can enter the expected hash value.
	set dialogResult to display dialog "Enter the expected hash value for the selected file's hash type:" buttons {"Cancel", "Done"} default button "Done" default answer "" with title "Verify Hash"
	-- Store the entered expected hash value from the dialog.
	set expectedHash to text returned of dialogResult

	-- Set the shell command to get the hash of the file based on the selected hash type.
	if item 1 of hashType is "md5" then
		set command to "md5 -q " & quoted form of filePath -- For MD5, use the 'md5' command with the '-q' flag for quiet output
	else if item 1 of hashType is "sha1" then
		set command to "shasum -a 1 " & quoted form of filePath -- For SHA1, use the 'shasum' command with the '-a 1' flag for SHA1 hashing
	end if

	-- Run the shell command to compute the hash of the selected file.
	set fileHash to do shell script command

	-- Compare the computed file hash with the expected hash entered by the user.
	if fileHash is equal to expectedHash then
		-- If the hashes match, show a success message with a 'note' icon.
		display dialog "The file hash matches the expected hash!" buttons {"Done"} default button "Done" with icon note with title "Success"
	else
		-- If the hashes don't match, show an error message with a 'stop' icon.
		display dialog "The hash you've entered does not match the hash expected by the file. Please verify the hash or the hash type and try again." buttons {"Done"} default button "Done" with title "Hash Mismatch" with icon stop
	end if

	-- Return the input (typically the file) so that the workflow can continue in Automator, if necessary.
	return input
end run
The Output
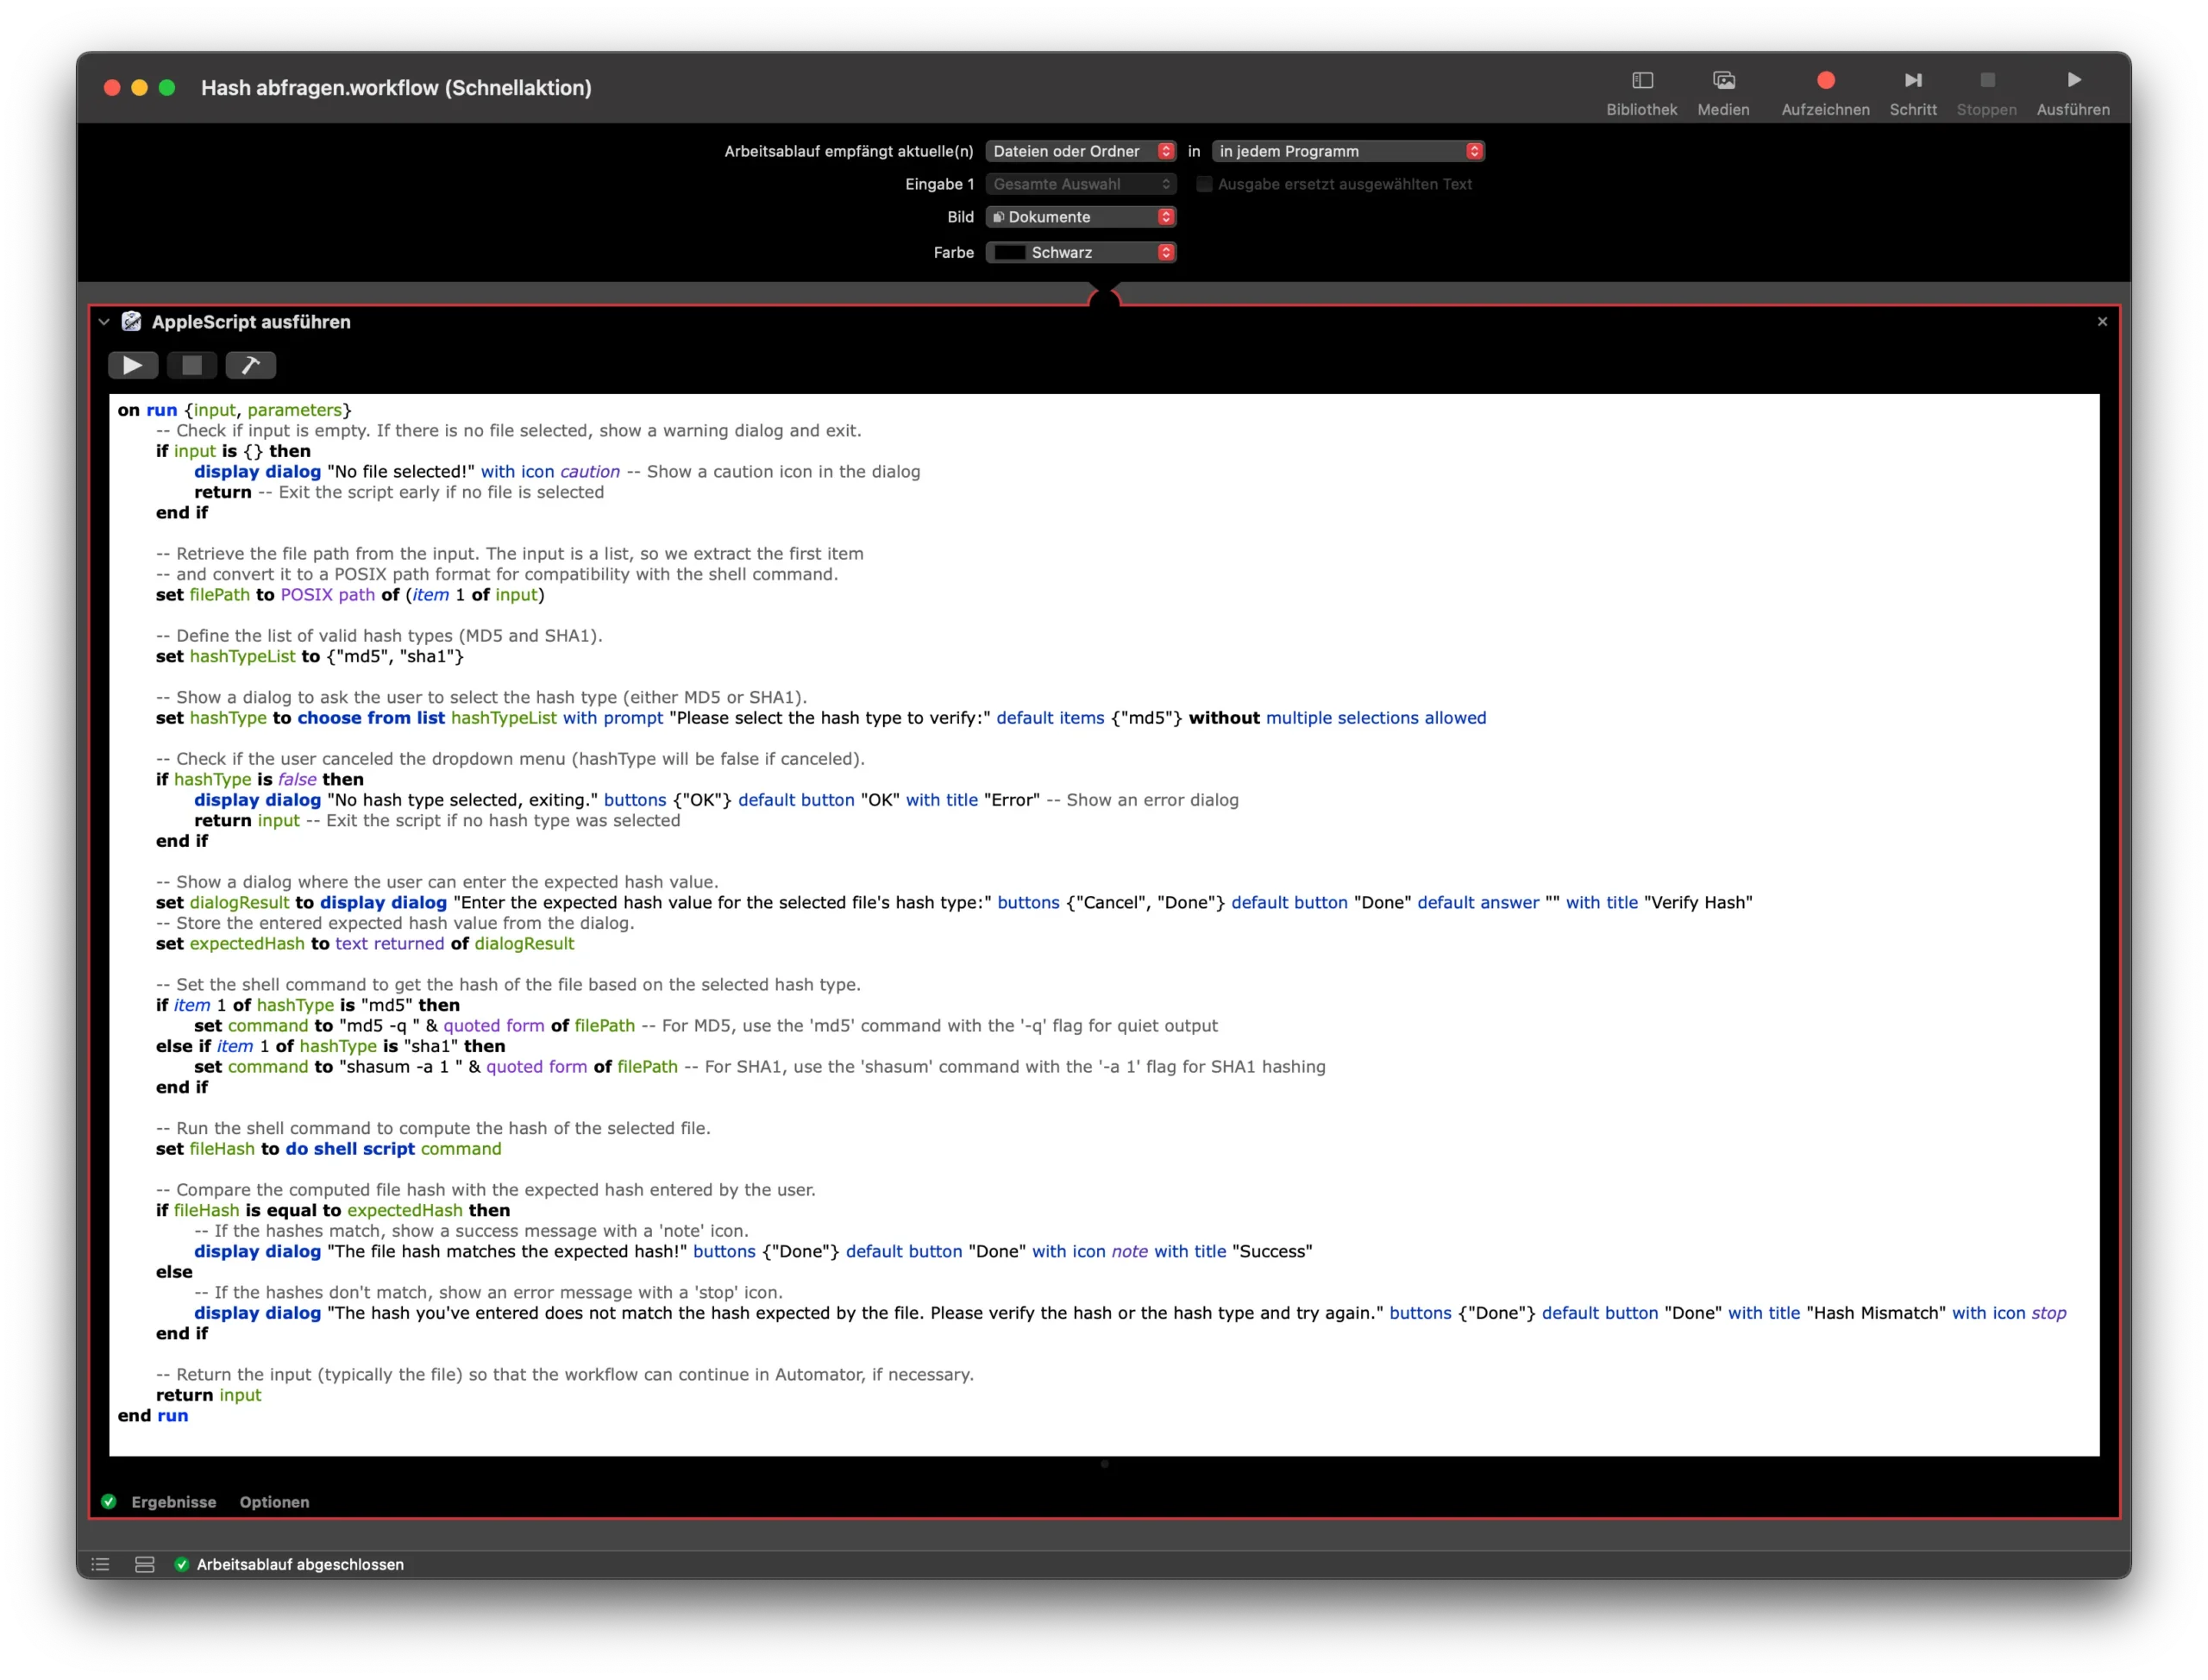
Your Automator app should now look like this (just not in the German language):

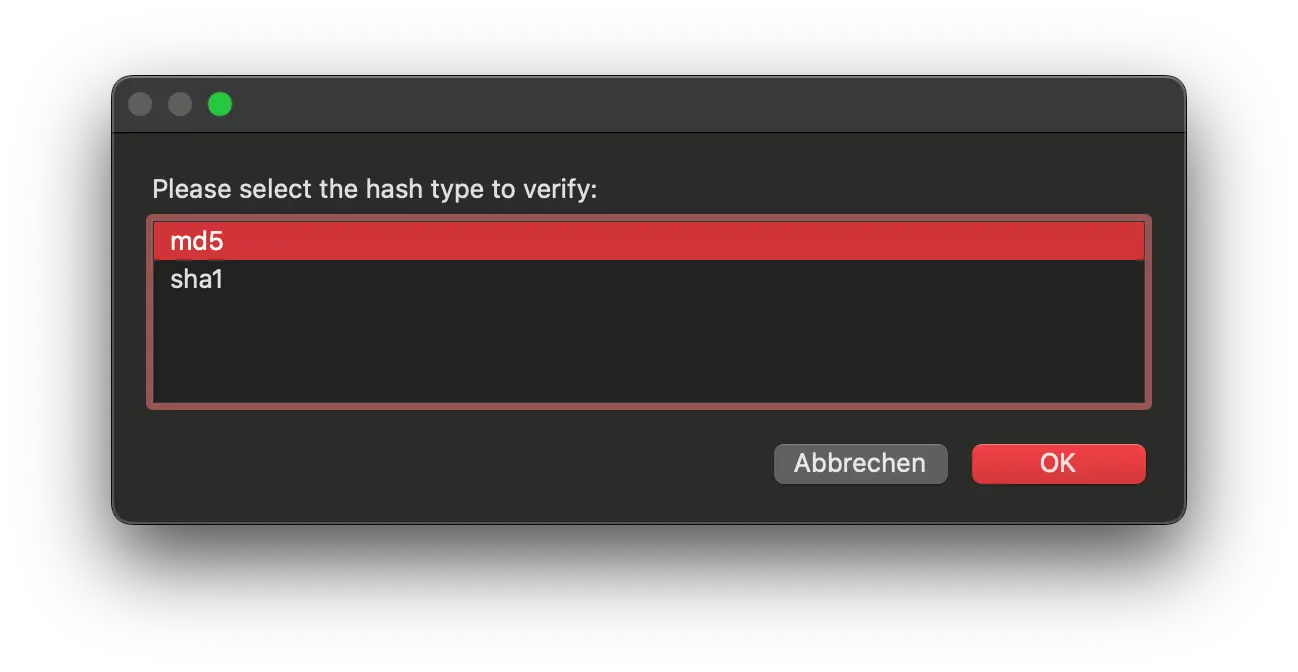
You can now just go ahead and press CMD + S again, open another Finder window, and click on the action we’ve just created. This time, however, it’ll ask you whether you’d like to check the md5 or sha1 hash.

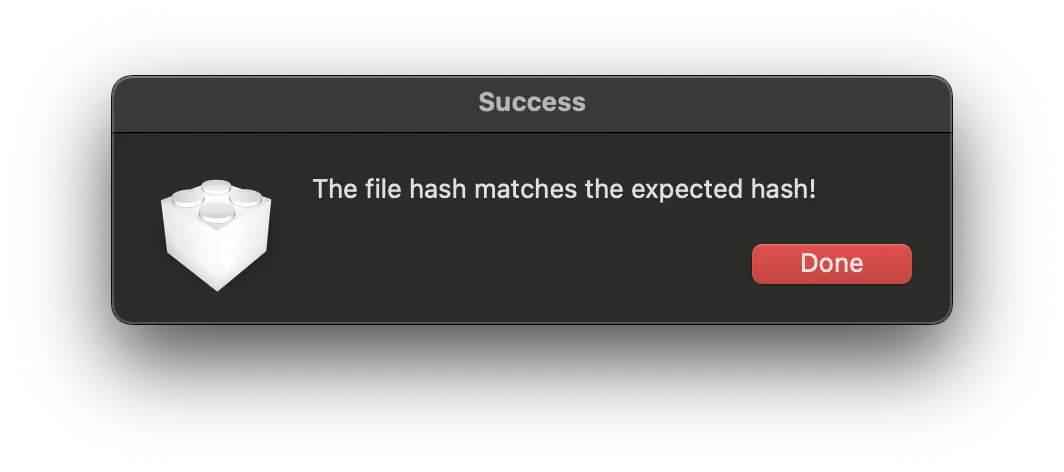
Try each one. If they match, you’ll see a little success box saying, “The file hash matches the expected hash!” If not, “The hash you’ve entered does not match the hash expected by the file. Please verify the hash or the hash type and try again.”

